Vegetarian

Raspberry Pie

A classic homemade raspberry pie with a buttery flaky crust and sweet-tart filling. Fresh or frozen raspberries work beautifully in this easy summer dessert.

Prep

20 min

Cook

50 min

Total

1 hr 10 min

Rest

2 hr

Servings

8

Difficulty

medium

NK

Nibbleboard Kitchen

April 14, 2026

Be the first to rate
raspberry pie recipe recipe

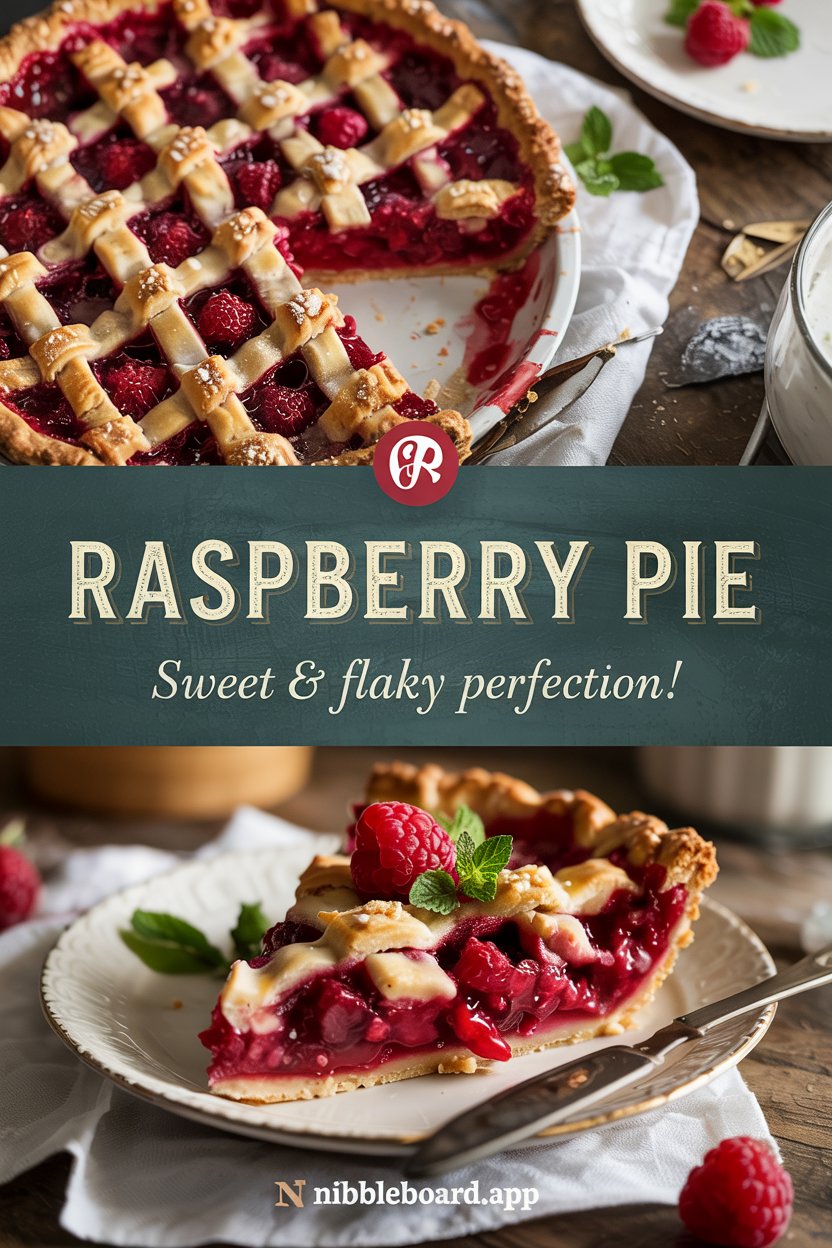
There's nothing quite like a homemade raspberry pie — that deep ruby filling bubbling through a golden lattice crust, the sweet-tart flavor that hits you with every single bite. This is one of those recipes that looks like you spent all day in the kitchen, but really comes together in about 20 minutes of hands-on time.

Why This Recipe Works

  • Starting at a high 425°F sets the bottom crust so it doesn't get soggy, then dropping to 350°F lets the filling cook through gently
  • Cornstarch thickens the raspberry juices as they heat, creating a sliceable filling instead of a soupy mess
  • Lemon juice brightens the berries and balances the sugar — without it the filling tastes one-dimensional
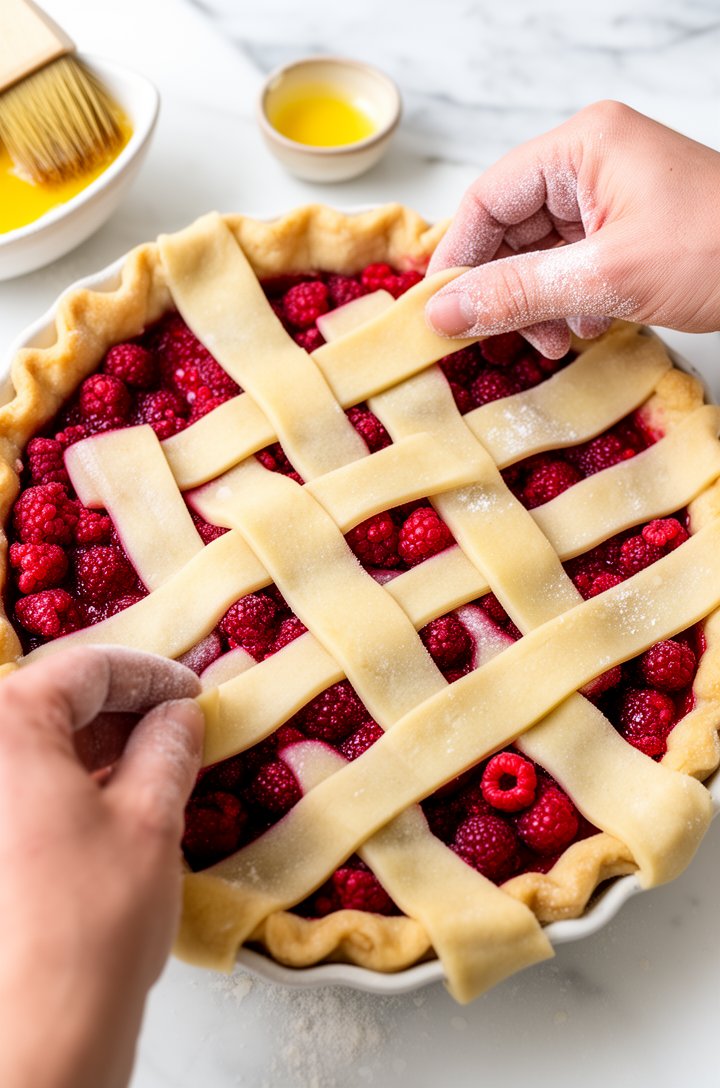
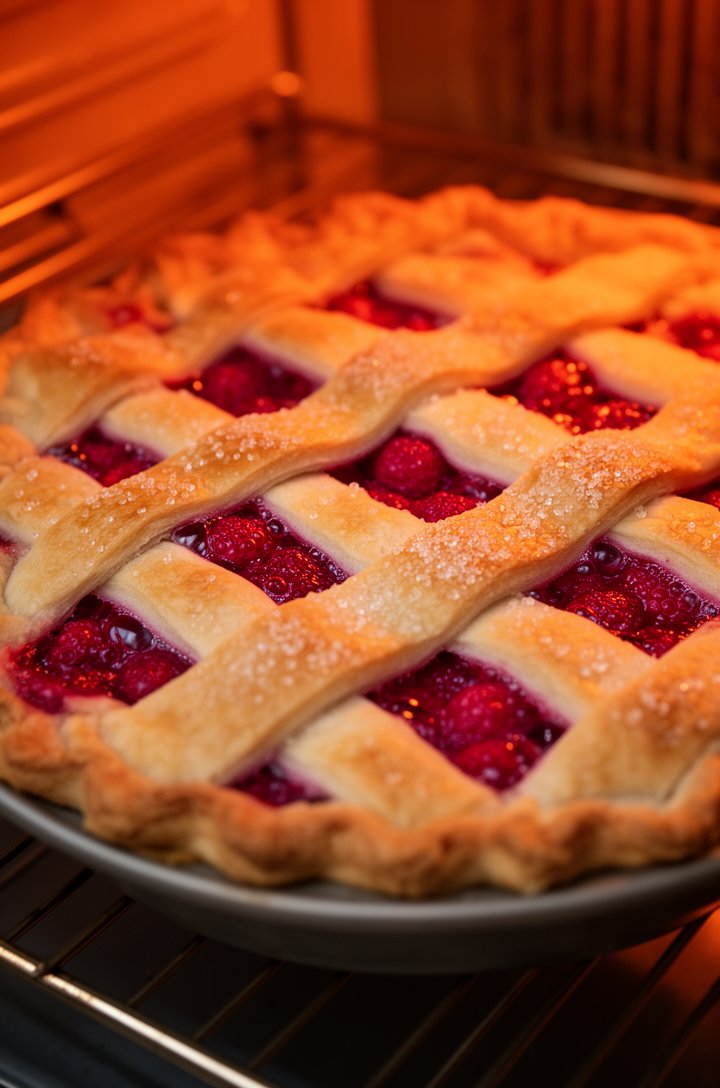
  • A lattice top lets steam escape during baking, which prevents a soggy top crust and helps the filling reduce

Oh my god, this raspberry pie. I made it for the first time last July when my neighbor dropped off a huge flat of raspberries from her garden — way more than we could eat fresh — and I've been making it every summer since. Matt actually said it's better than his mom's apple pie, which in our house is basically a declaration of war.

Overhead flat-lay of raspberry pie ingredients arranged on a white marble surface — a large glass bowl overflowing with bright red fresh raspberries in the center, surrounded by small prep bowls conta

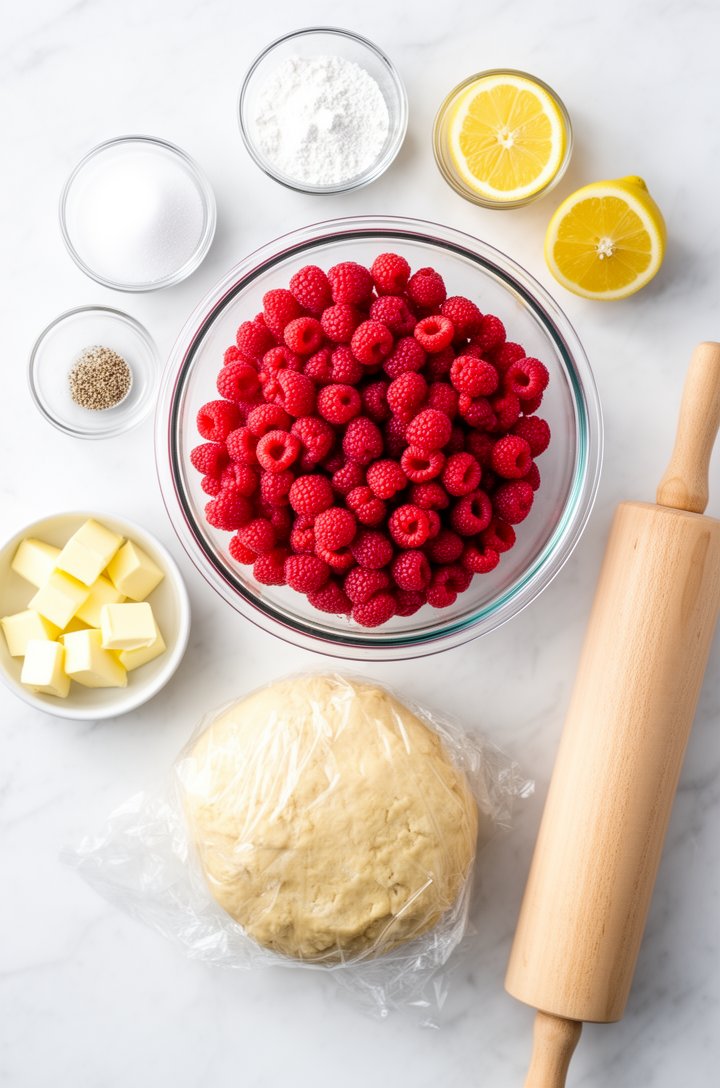
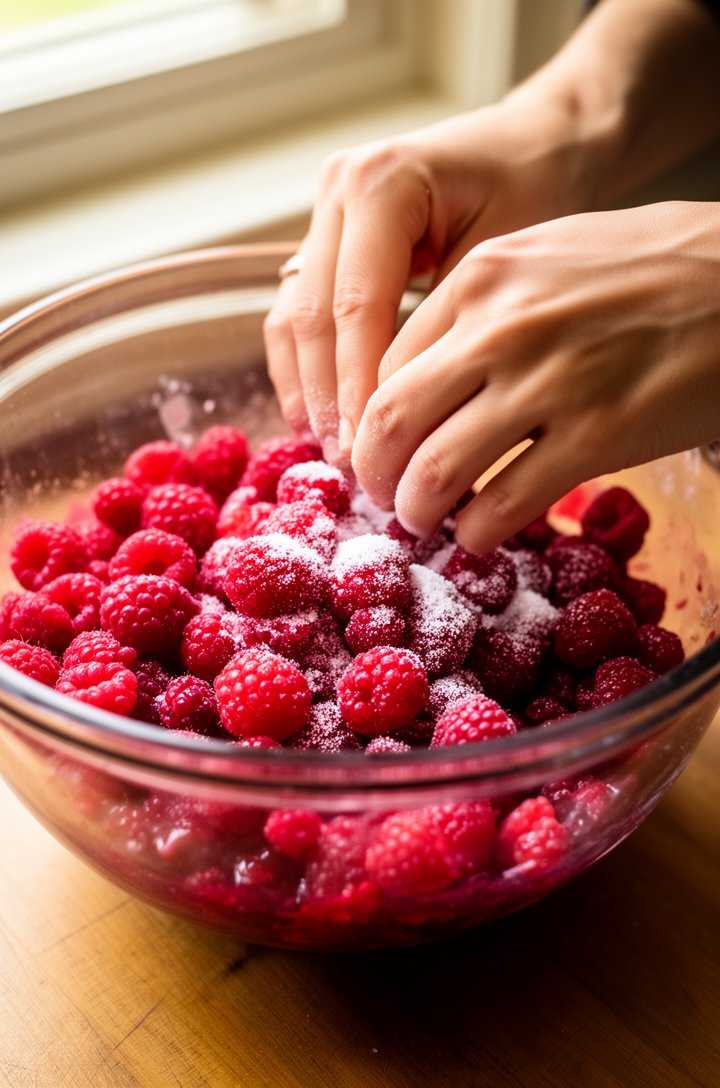
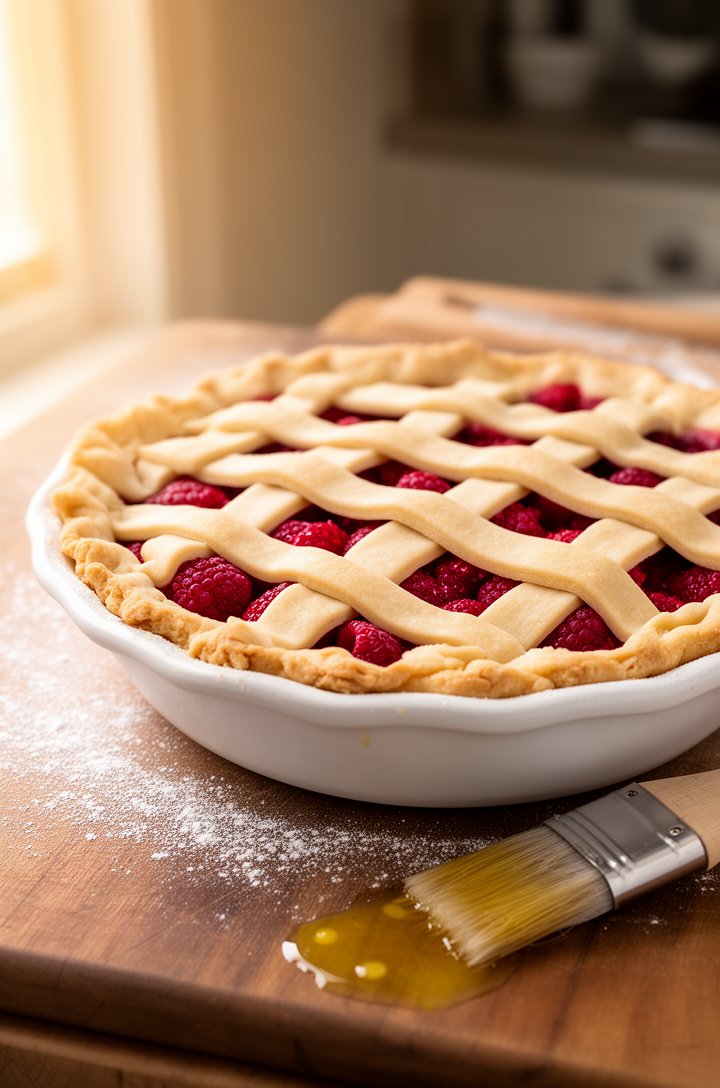
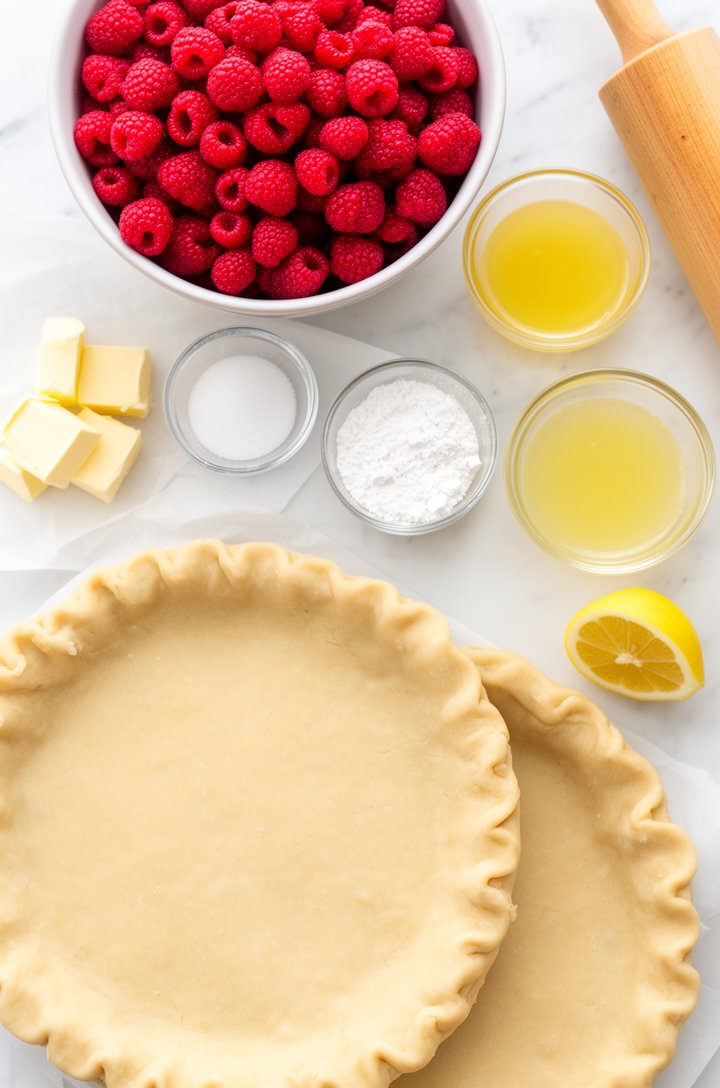
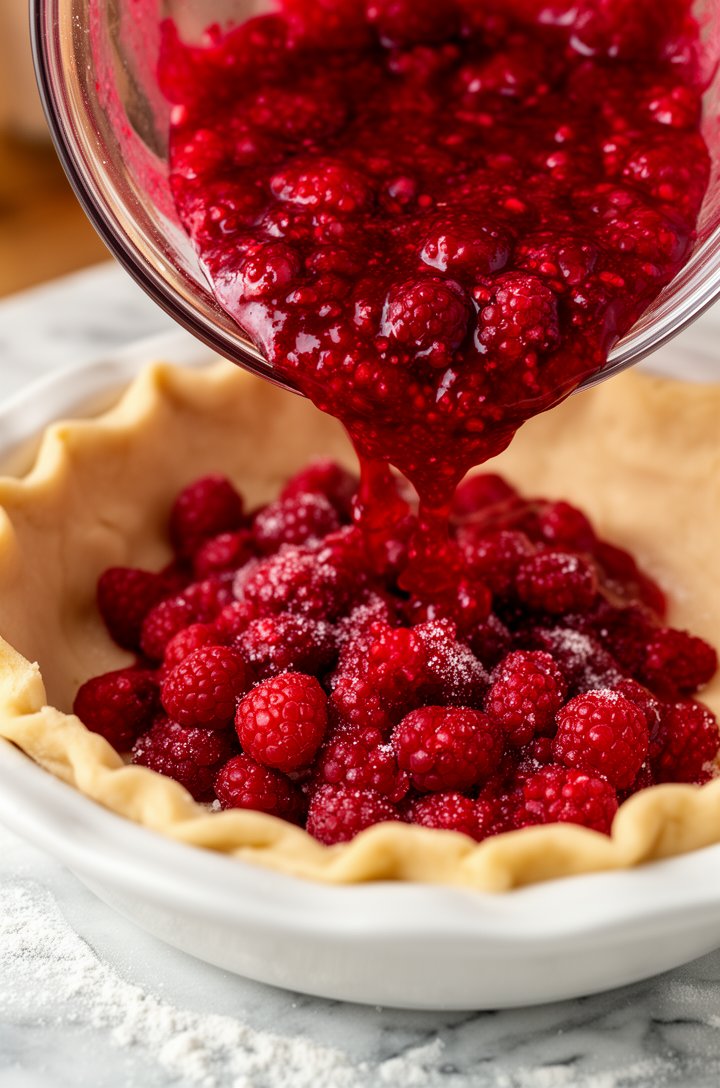
What I love about this recipe is how simple it really is. Five cups of raspberries, some sugar, a squeeze of lemon, cornstarch to hold it all together, and two pie crusts. That's it. The filling comes together in about two minutes — just fold everything gently so the berries don't turn to mush. Even Lily helped me weave the lattice last time, and she was so proud of how it turned out.

Close-up 45-degree angle shot of hands gently folding bright crimson raspberries with sugar and cornstarch in a large glass mixing bowl, some berries still whole and glistening, a light dusting of whi

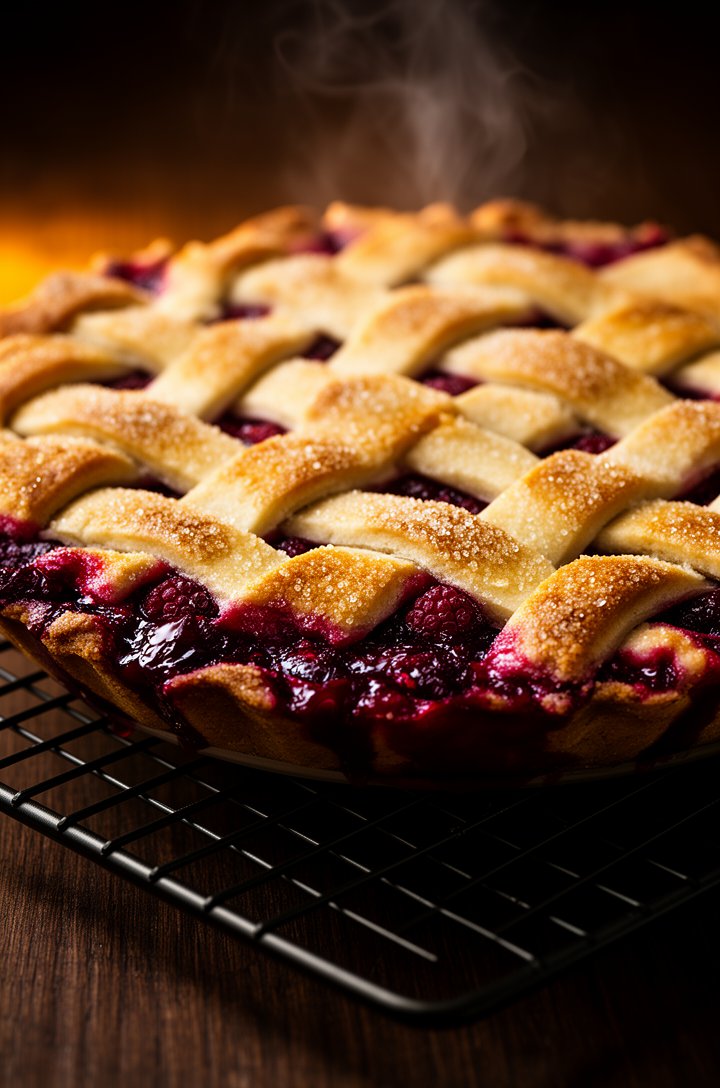
The secret is really in the baking — you start hot at 425°F to set that bottom crust (no one wants a soggy bottom), then drop to 350°F so the filling can bubble and thicken without burning the edges. When it comes out of the oven and you see that deep ruby filling bubbling up through the golden lattice... honestly, it's one of the prettiest things I bake.

Side-angle shot of an unbaked raspberry pie with a freshly woven golden-tan lattice crust on top, deep red raspberry filling visible through the lattice gaps, sitting in a white ceramic pie dish on a

I will say — and I cannot stress this enough — let the pie cool completely before you slice it. I know it smells incredible and you want to dive in, but if you cut it hot, the filling runs everywhere and you end up with raspberry soup on a plate. Two hours minimum. I usually bake it the night before if I'm bringing it somewhere, and it slices like a dream the next day.

Dramatic 45-degree angle shot of a freshly baked raspberry pie cooling on a wire rack, deep golden-brown lattice crust with sugar crystals glistening on top, dark crimson filling visibly bubbling at t

Whether you use fresh summer berries or a bag of frozen raspberries in the dead of winter, this pie delivers every time. Grab your rolling pin — this one's a keeper.

Close-up beauty shot of a single slice of raspberry pie on a white ceramic plate, the cross-section showing a thick layer of set jewel-toned crimson raspberry filling between a golden flaky bottom cru

How It Comes Together

Overhead flat-lay of all raspberry pie ingredients on a white marble countertop: a large bowl of bright red fresh raspberries, small glass prep bowls of sugar, cornstarch, and lemon juice, two rounds of pale pie dough, cold butter cubes on parchment, a lemon half, a rolling pin — bright even natural lighting, organized and inviting mise en place composition
Close-up 45-degree shot of crimson raspberry filling being poured from a glass bowl into an unbaked pie shell sitting in a white ceramic pie plate, the filling thick and glossy with visible whole berries coated in sugar and cornstarch, some filling already settled into the crust, flour-dusted marble surface, warm kitchen lighting from the side
Overhead shot of hands weaving lattice strips of pale golden pie dough over the deep red raspberry filling, some strips already laid in a criss-cross pattern with berries visible through the gaps, flour-dusted fingers, a small bowl of egg wash and pastry brush nearby, bright natural overhead lighting, white marble work surface
Side-angle close-up of the raspberry pie in the oven, golden-brown lattice crust with sugar crystals visible on top, crimson filling actively bubbling through the lattice openings, warm orange oven light illuminating the pie, the pie sitting on a sheet pan, oven rack lines visible, cozy warm kitchen scene
Overhead shot of the finished raspberry pie on a white plate, lattice crust a deep golden brown, filling set and jewel-toned crimson visible through the lattice, a single slice removed showing the clean cross-section of thick berry filling and flaky crust layers, scattered fresh raspberries and a sprig of mint around the plate, bright natural daylight, clean white linen napkin in corner of frame

Chef Tips

  • I've found that frozen raspberries actually work just as well as fresh here — just thaw them completely and drain off any excess liquid before mixing. This is my go-to move in the winter when fresh berries cost a fortune.
  • The cornstarch is what thickens the filling, so don't skip it or reduce it. If you want an even thicker set, swap in 3 tablespoons of quick-cook tapioca along with 2 tablespoons of cornstarch.
  • After trying both ways, I always bake with a cookie sheet underneath. Raspberry filling bubbles over more than you'd expect, and cleaning baked-on sugar off the oven floor is not how I want to spend my evening.
  • Let the pie cool completely — I know it's hard, but cutting into a hot pie means runny filling everywhere. Two hours minimum, or even better, bake it the night before.
  • If the lattice feels intimidating, just lay the strips in one direction without weaving. It looks great and nobody at the table will care.

Variations

Streusel-Topped Raspberry Pie

Skip the lattice and top with a buttery crumble: ½ cup flour, ⅓ cup brown sugar, ¼ cup cold butter, and ½ cup rolled oats. Crumble over the filling and bake as directed.

Raspberry Blueberry Pie

Replace 2 cups of raspberries with fresh blueberries for a mixed berry version. Keep everything else the same.

Double Crust (No Lattice)

Place the full second crust on top, crimp the edges, and cut 4-5 slits to vent steam. Faster and easier if lattice weaving isn't your thing.

Raspberry Peach Pie

Swap 2 cups of raspberries for sliced fresh peaches. Add a pinch of cinnamon to the filling. A gorgeous summer combination.

Serving Suggestions

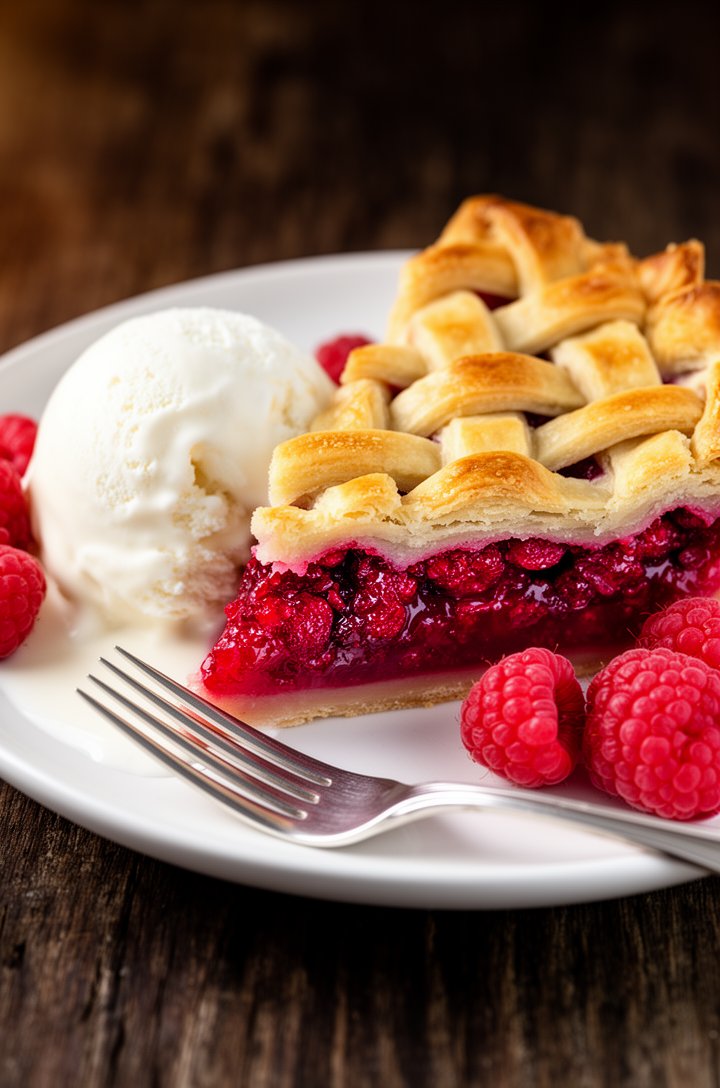
Serve warm or at room temperature with a big scoop of vanilla ice cream or a dollop of fresh whipped cream. A drizzle of honey over the top is surprisingly good too.

Make It Ahead

Assemble the pie up to 24 hours before baking — wrap tightly in plastic wrap and refrigerate. You can also freeze the unbaked pie for up to 2 months. Bake from frozen, adding 15-20 extra minutes to the bake time.

Raspberry Pie

A classic homemade raspberry pie with a buttery flaky crust and sweet-tart filling. Fresh or frozen raspberries work beautifully in this easy summer dessert.

Prep

20 min

Cook

50 min

Total

1 hr 10 min

Rest

2 hr

Servings

8

Difficulty

medium

Calories

461

Print
Share:

Ingredients

servings

Ingredients

Finishing

Instructions

  1. 1

    Preheat your oven to 425°F. Place one pie crust in the bottom of a 9-inch pie plate and press gently into the edges. Trim any overhang to about half an inch and crimp as desired. Refrigerate while you make the filling.

  2. 2

    Combine raspberries, sugar, lemon juice, and cornstarch in a large bowl. Gently fold together until the berries are evenly coated — try not to crush them too much.

  3. 3

    Pour the raspberry filling into the prepared pie crust. Scatter the cold butter cubes evenly over the top of the filling.

  4. 4

    Cut the second pie crust into strips about ¾-inch wide. Weave strips over the filling in a lattice pattern, alternating over and under. Press the edges together and crimp to seal.

  5. 5

    Brush the lattice top with beaten egg wash and sprinkle with the remaining tablespoon of sugar.

  6. 6

    Place a pie shield or strips of aluminum foil around the crust edges to prevent over-browning. Set the pie on a cookie sheet to catch any drips.

    10 min

  7. 7

    Bake at 425°F for 10 minutes, then reduce the temperature to 350°F and continue baking for 35-40 minutes until the crust is deep golden brown and the filling is bubbling through the lattice.

    45 min

  8. 8

    Remove from the oven and let cool on a wire rack for at least 2 hours before slicing. The filling needs this time to set — slicing too early means a runny pie.

    120 min

Equipment

9-inch pie platerolling pinlarge mixing bowlpie shield or aluminum foilcookie sheet

Nutrition per Serving

461

Calories

6g

Protein

66g

Carbs

21g

Fat

11g

Fiber

27g

Sugar

226mg

Sodium

Estimated Cost

$34.71total
$4.34per serving

*Based on average US grocery prices

Storage & Leftovers

Storage: Cover loosely with foil or plastic wrap and store at room temperature for up to 2 days. Refrigerate for up to 5 days — the crust softens a bit in the fridge but the flavor stays great.

Reheating: Warm individual slices in a 350°F oven for 10-12 minutes until the filling is heated through. Microwave works in a pinch but the crust won't be as crisp.

Freezing: Freeze baked pie whole or in individual slices wrapped tightly in plastic wrap and foil. Keeps for up to 3 months. Thaw overnight in the fridge and refresh in a 350°F oven for 15 minutes.

AmericanVegetarianHolidayDate Night

Frequently Asked Questions

Nutrition Facts

8 servings | 1 slice

Calories461

% Daily Value*

Total Fat 20.8g27%
Total Carbohydrate 66g24%
Dietary Fiber 10.6g38%
Total Sugars 27.4g
Protein 5.6g11%
Sodium 226mg10%

*Percent Daily Values based on a 2,000 calorie diet.

Reviews & Comments

No reviews yet. Be the first to leave a review!

You Might Also Like