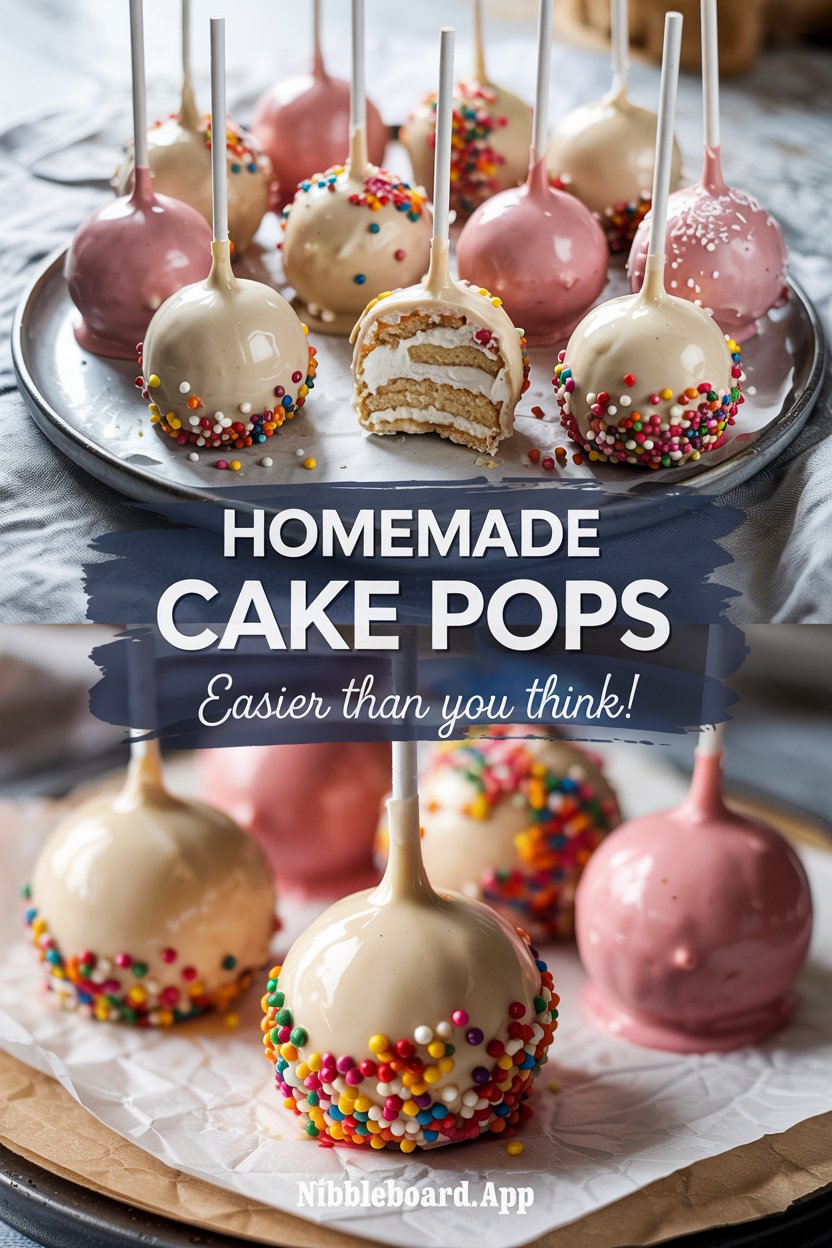
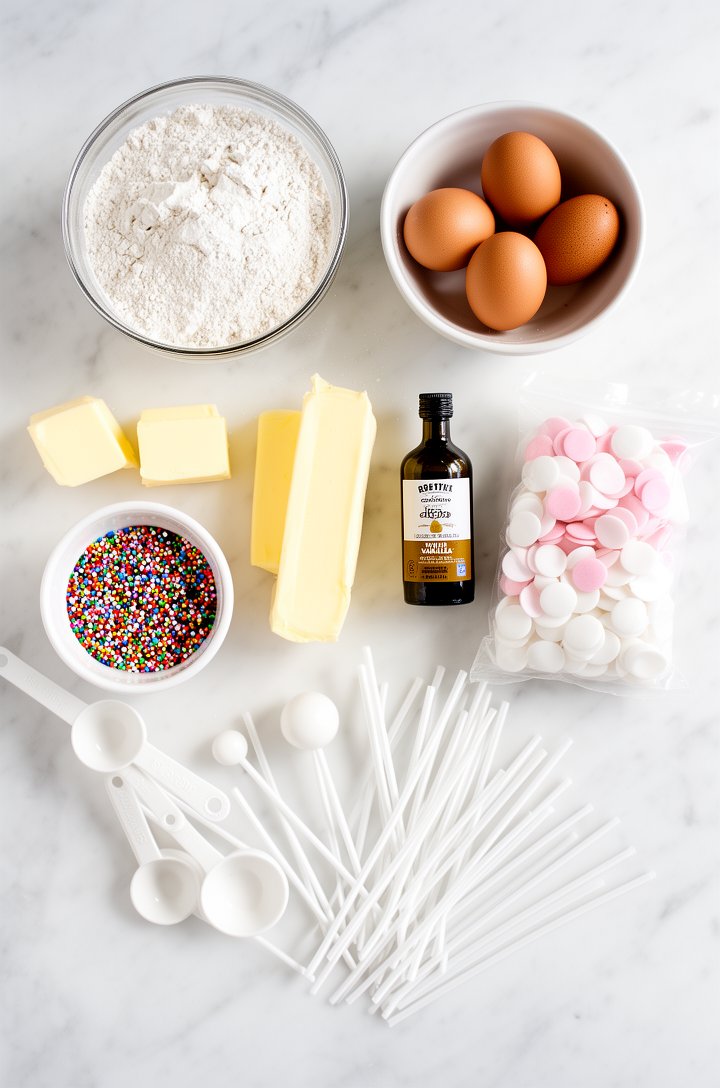
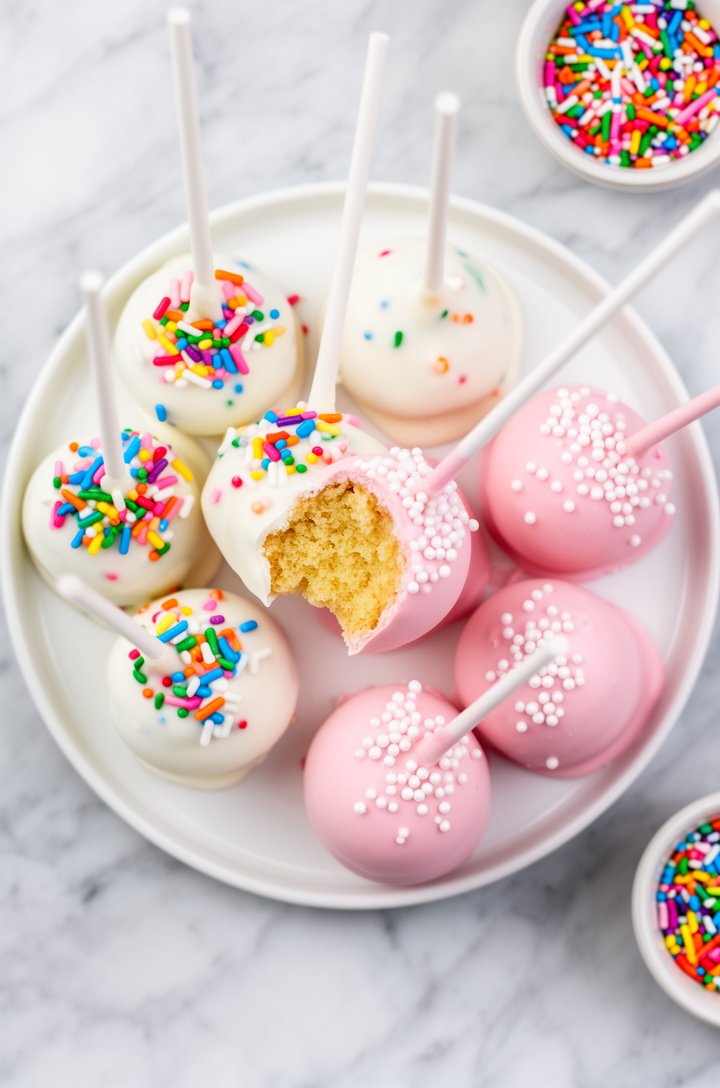
These homemade cake pops look like they came from a bakery, but they're made completely from scratch with a simple vanilla cake and buttercream frosting.
Why This Recipe Works
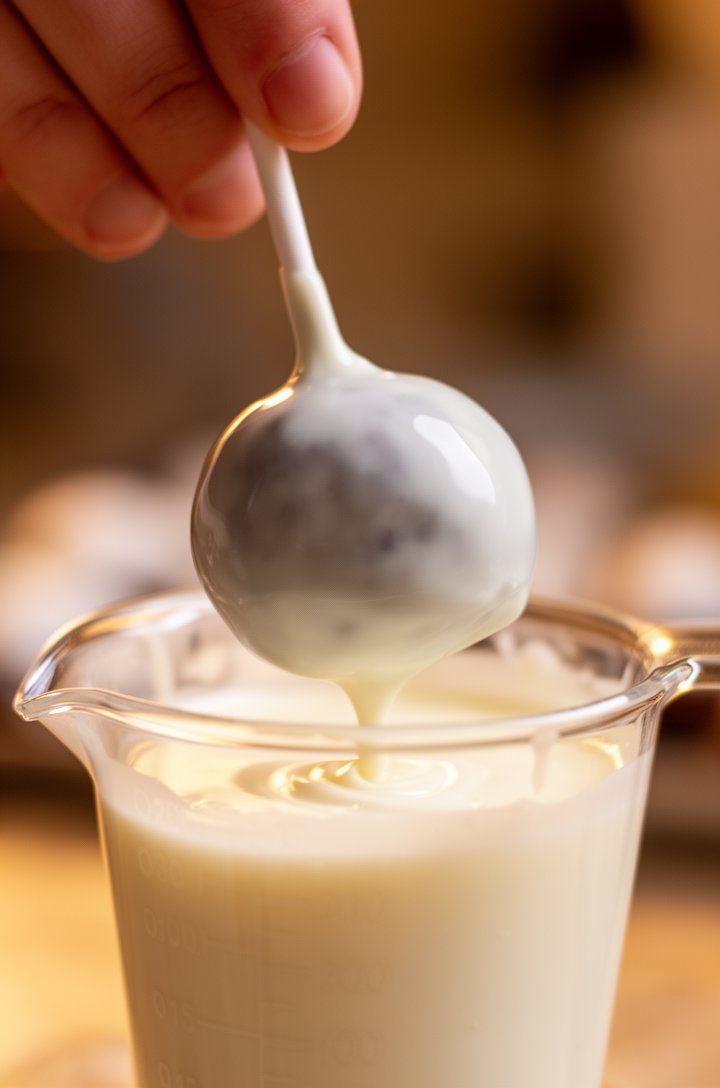
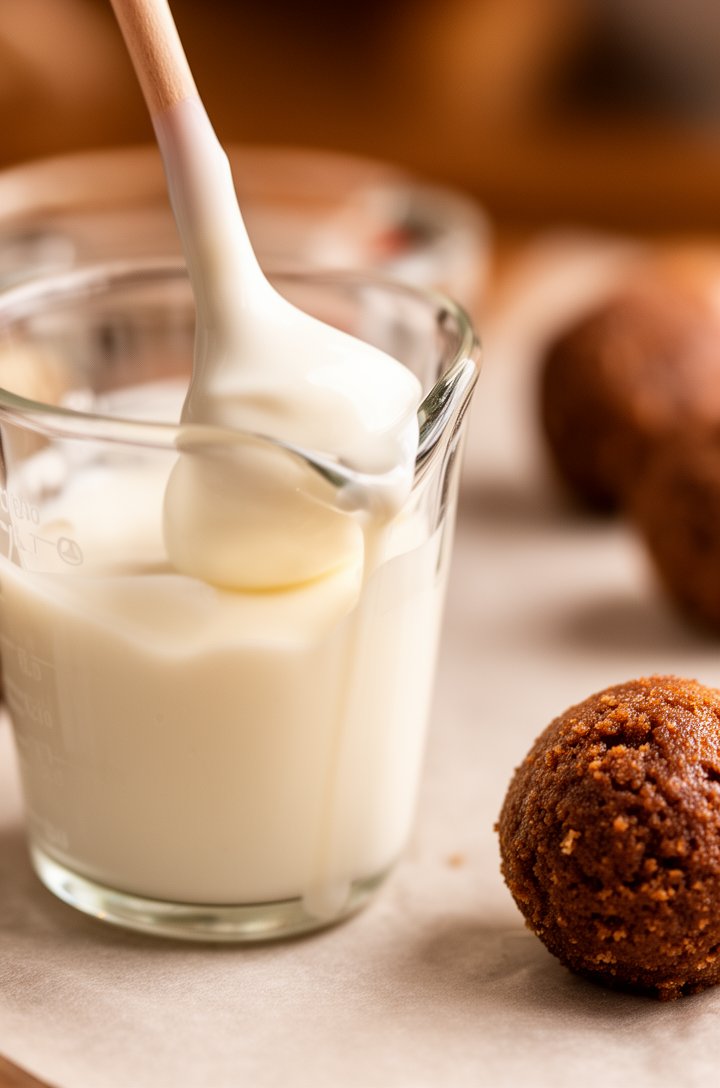
- Dipping the stick in coating before inserting it into the cake ball creates a seal that keeps the pop securely attached — no sad cake balls sliding off sticks
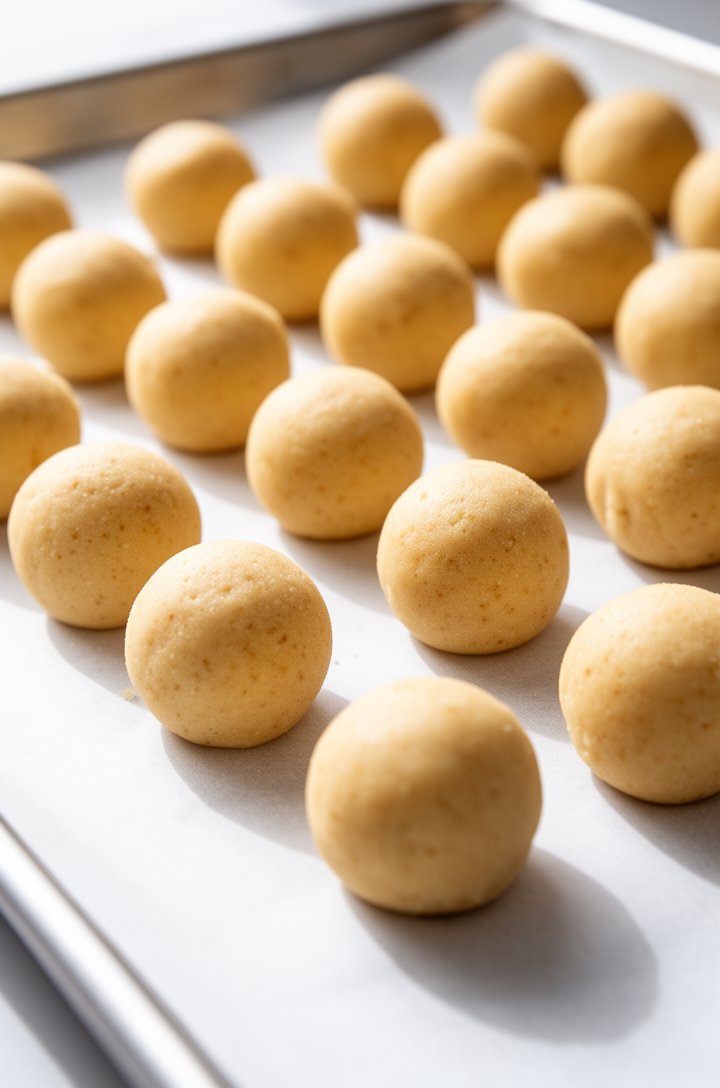
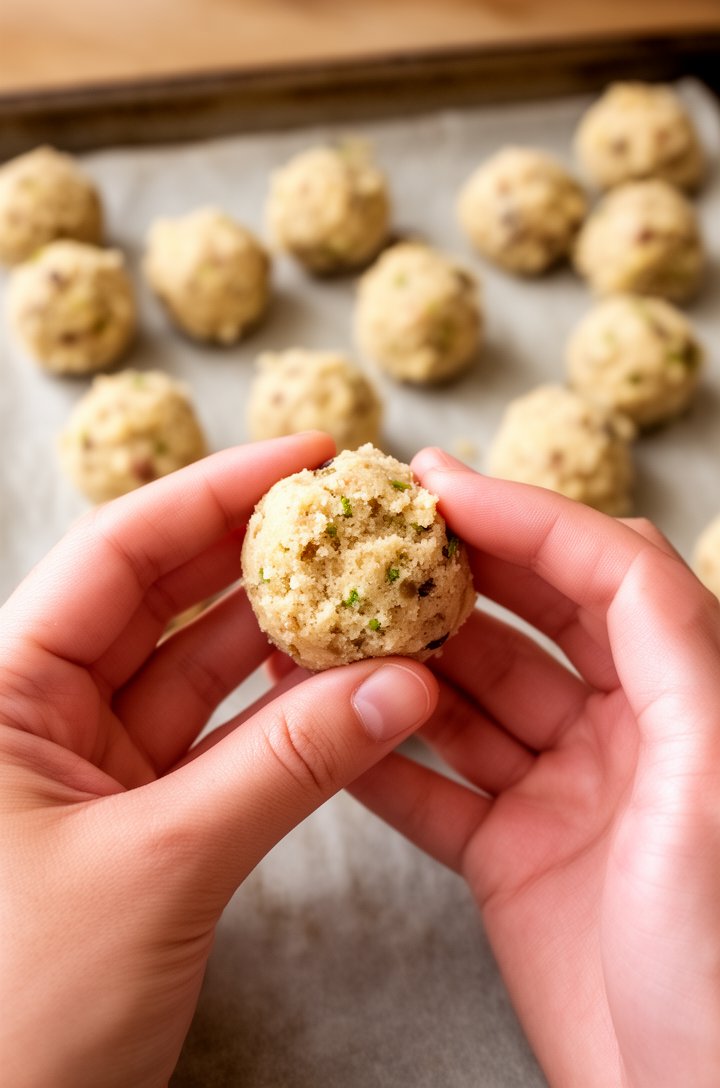
- Chilling the cake balls until firm ensures the coating sets quickly and evenly without melting the ball
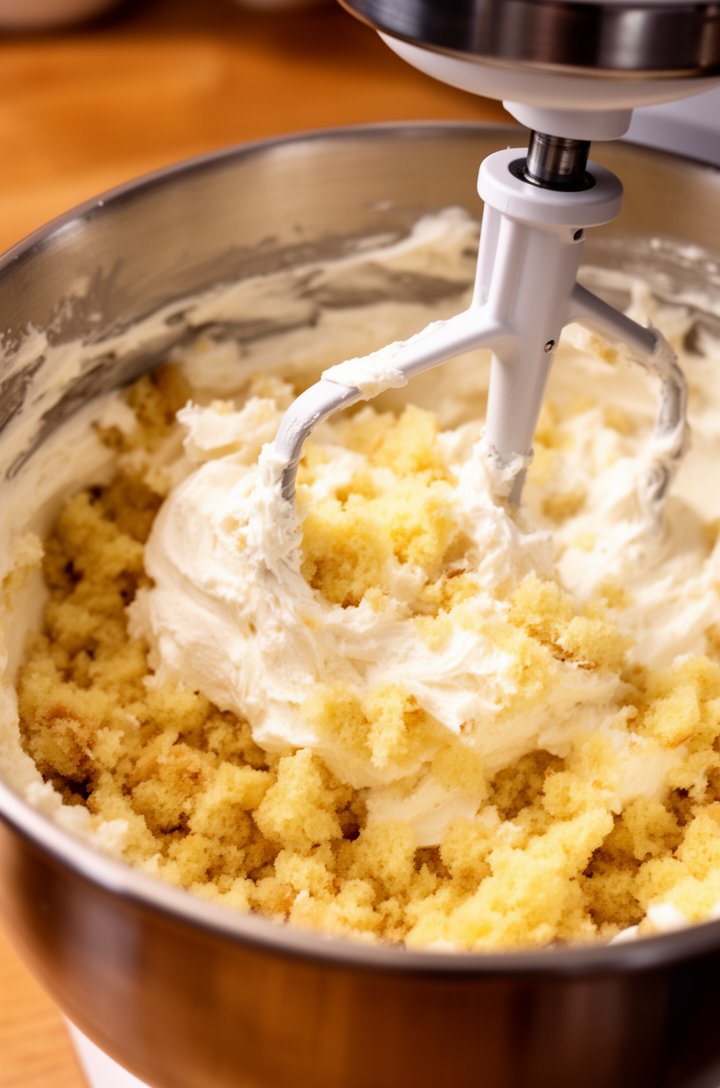
- Mixing crumbled cake with just enough frosting to bind — not too much — gives the right texture that's moist but not mushy
- Working in small batches of 2-3 keeps the cake balls cold enough for clean dipping
Oh my god, these cake pops. I know they look like something from a fancy bakery display, but I promise you — this cake pops recipe is completely doable at home, even on a chaotic Saturday with three kids "helping." Lily and I made a batch last weekend for Emma's school bake sale, and I'm not exaggerating when I say every single one was gone in under ten minutes. Three other moms asked me for the recipe before pickup.
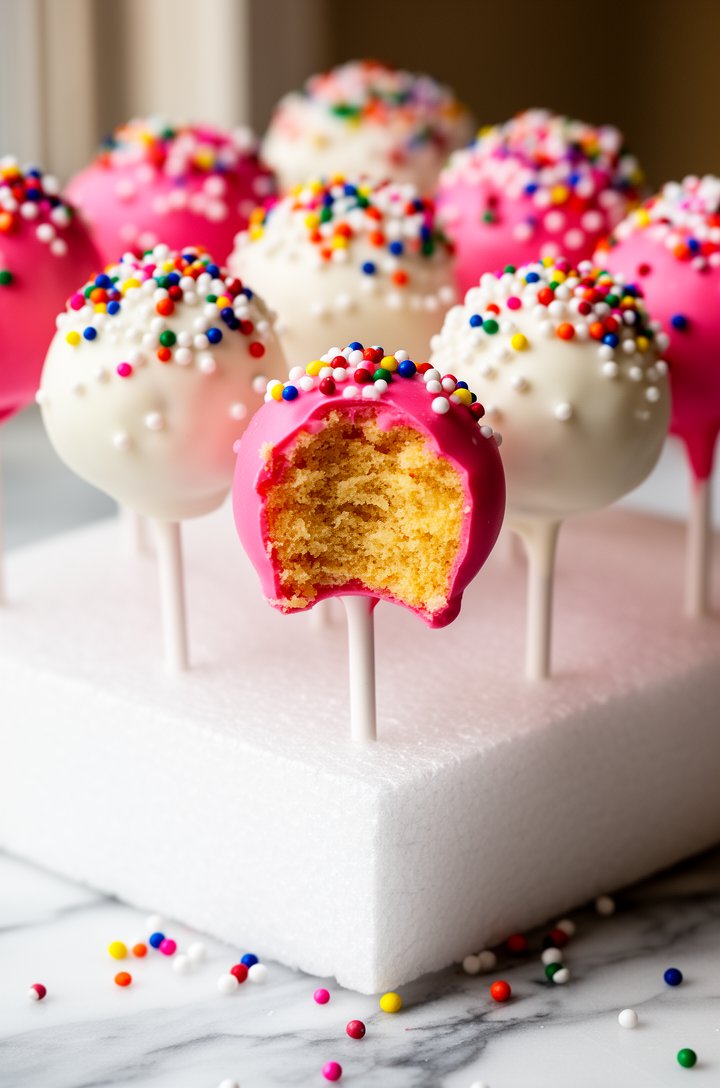
The secret that took me way too long to figure out? It's all about the ratio of cake to frosting. Too much frosting and you get a mushy mess that won't stay on the stick. Too little and they're dry and crumbly. After probably six batches of trial and error, I landed on this ratio — the cake balls hold together perfectly, stay on the stick, and taste like a bite of the best birthday cake you've ever had.
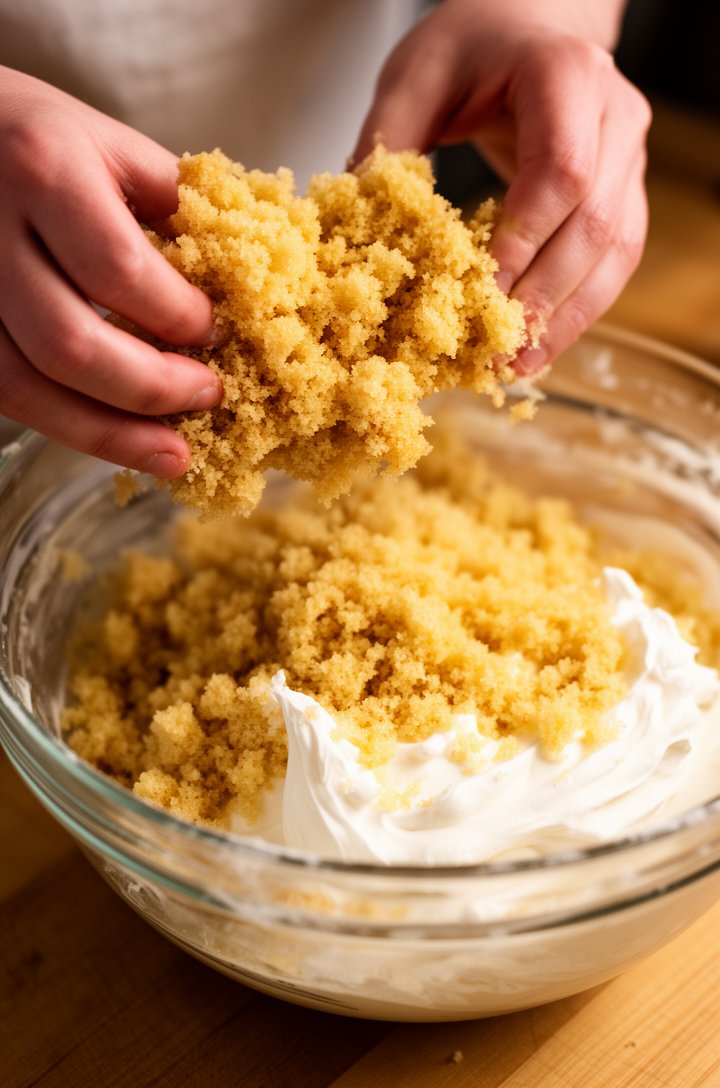
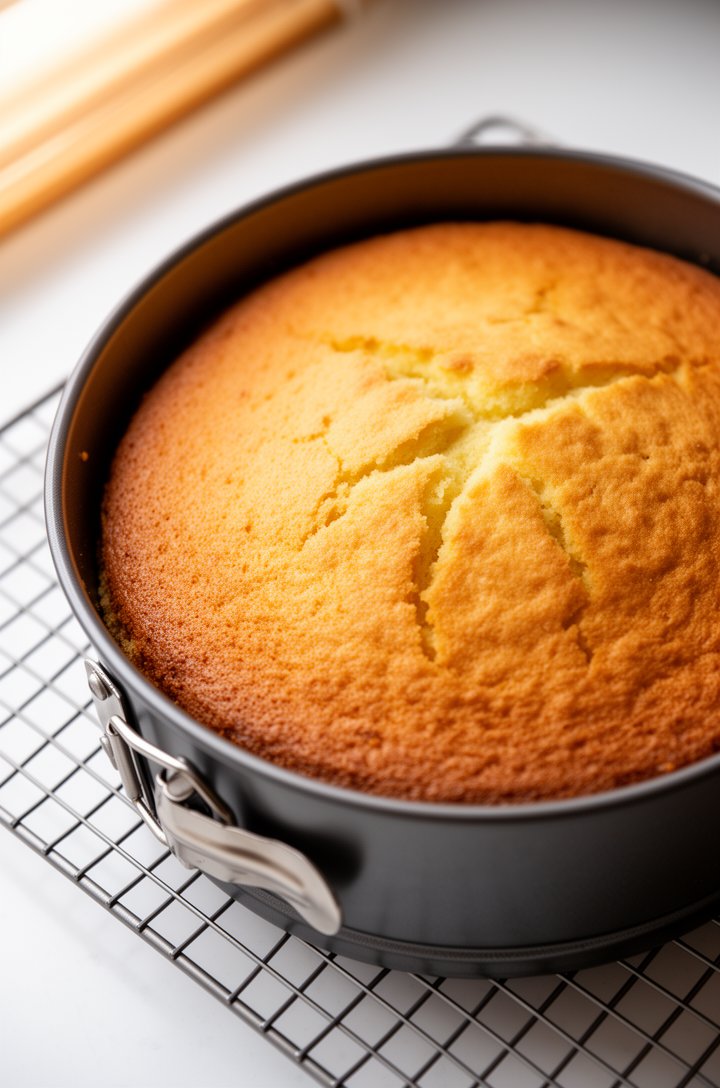
The whole process breaks down into three stages: bake and crumble, roll and chill, dip and decorate. You can even spread it across two days, which is what I usually do — bake and roll on Saturday, dip on Sunday morning while Ben watches cartoons. Matt always hovers around the kitchen during the dipping phase, stealing the "ugly ones" before I can even decorate them.
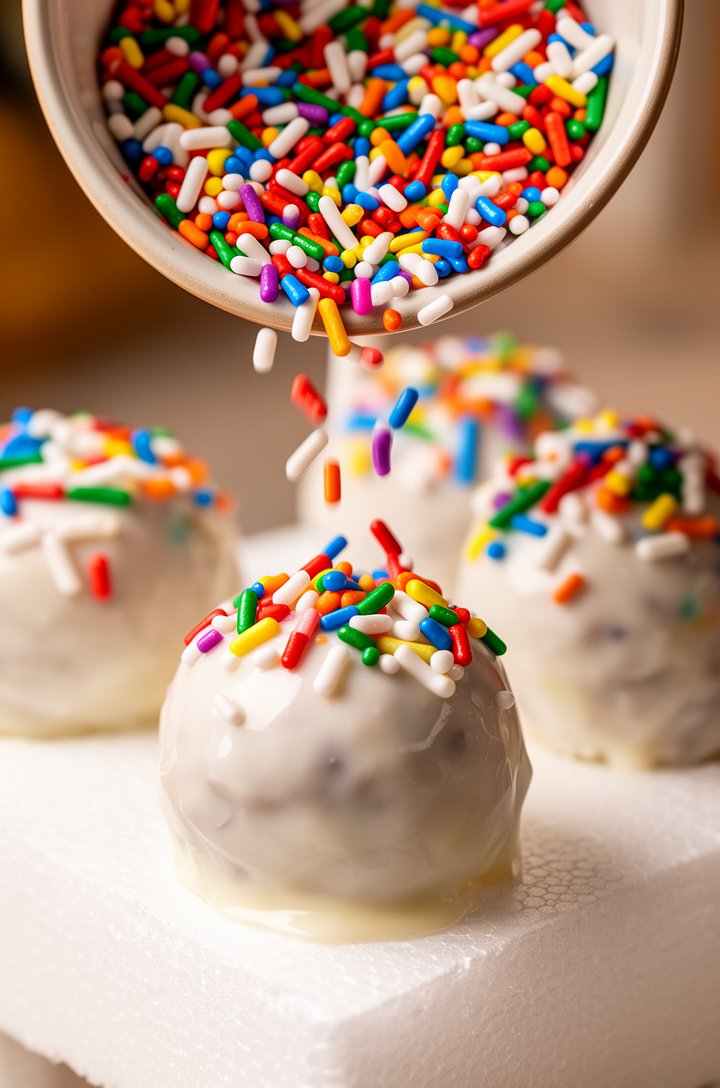
The dipping is the fun part — and honestly the most satisfying. Watching that smooth candy coating cover each little ball and then hitting it with sprinkles before it sets? It's like edible arts and crafts. Even Ben gets into the sprinkle part (though he dumps about ten times more than necessary on each one).
Grab your springboard pan and let's do this.
How It Comes Together
Chef Tips
- I've found that using a 2-cup liquid measuring cup for melting is a game-changer — the narrow, deep shape means you need less coating to fully submerge each pop, and you waste way less.
- Only take 2-3 cake balls out of the fridge at a time. If they warm up too much, the coating slides right off. I learned this the hard way on my first batch.
- If your candy melts are too thick for smooth dipping, stir in 1-2 teaspoons of coconut oil or vegetable shortening to thin them out.
- You can substitute boxed cake mix and store-bought frosting if you're short on time — use one box of cake mix and about 1/3 cup of frosting. The homemade version tastes better, but the shortcut works in a pinch.
- Store finished cake pops in the refrigerator for up to 1 week. Let them sit at room temperature for 10 minutes before serving for the best texture.
Variations
Chocolate Cake Pops
Use your favorite chocolate cake recipe or chocolate box mix. Pair with white candy melts for a classic contrast, or go all-in with chocolate coating.
Red Velvet Cake Pops
Use red velvet cake with cream cheese frosting. Dip in white candy melts — the red interior looks stunning when you bite in.
Birthday Cake Flavor
Add 2 tablespoons of rainbow sprinkles directly into the cake batter before baking for a funfetti effect. Coat in white candy melts and top with more sprinkles.
Cookies and Cream
Fold 1/2 cup of crushed Oreos into the cake-frosting mixture before rolling. Dip in white coating and top with Oreo crumbs.
Serving Suggestions
Display standing upright in a styrofoam block covered in tissue paper, or arrange on a platter for a dessert table. Perfect for birthday parties, baby showers, holiday cookie exchanges, and school bake sales.
Make It Ahead
Bake the cake and make the frosting up to 2 days ahead. Crumble, mix, and roll into balls — store covered in the fridge for up to 2 days. Dip and decorate the day of your event for the freshest look.